|
Material List:
If ole barn boards are not
available, use one piece of 3/4" hardwood plywood, 2' x
4'.
3/4" Edging Material/Trim:
162"
One piece of 1" x 5" x 9" piece of
hardwood.
1 5/8" Woodscrews: 3.
Kreg Screws: 12
Finishing Materials

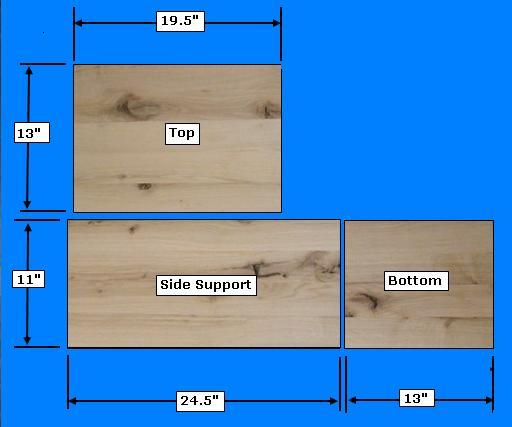
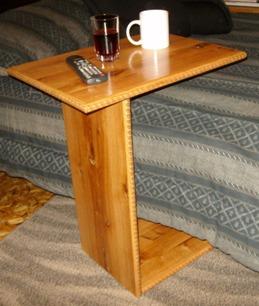
Step 1, Cut the Table Pieces -
Select 3/4" x 24" x 48" hardwood, plywood panel.
Rip the plywood: One piece @
11" (the remaining 13" piece will be used for the Top);
crosscut the 11" piece @ 24.5" for the Side Panel and
another piece @ 13" for the Bottom Panel.
Select the 13" Top Piece and
crosscut it @ 19.5".
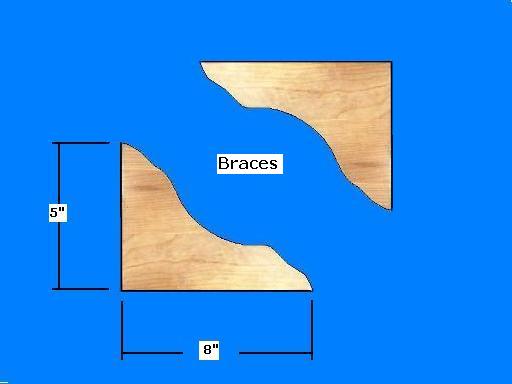
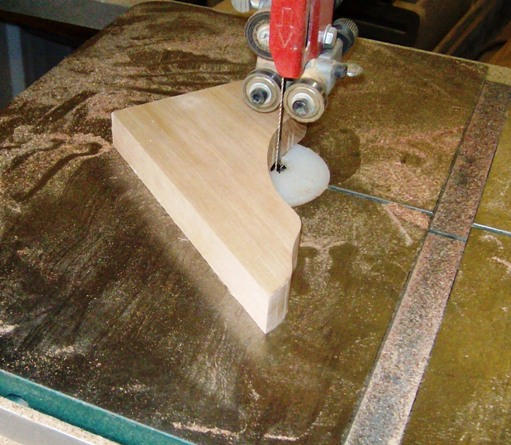
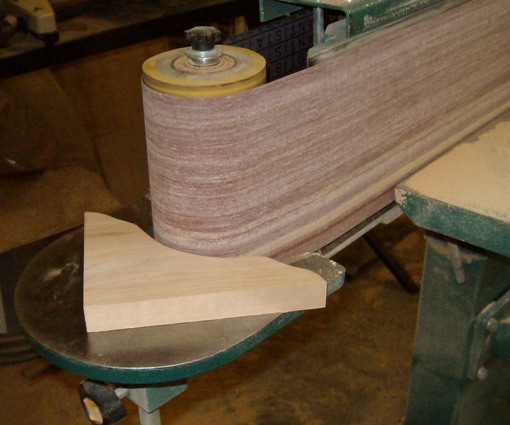
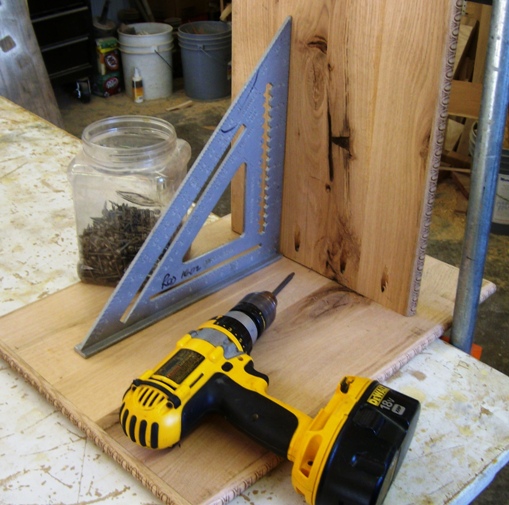
Select the 1 x 5" x 9" hardwood;
this will be used as the Top and Bottom Support Braces; cut
it into two, equal-sized triangles and using a band saw and
sanding belt, cut and sand the two braces, as shown above.
Step 2, Prepare the Pieces -
Select the Top, Bottom, and Side Panels, plus the two
Support Braces.
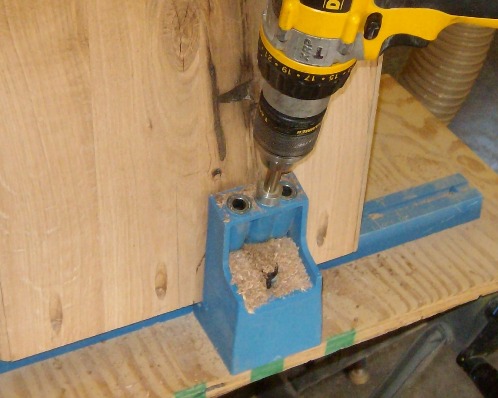
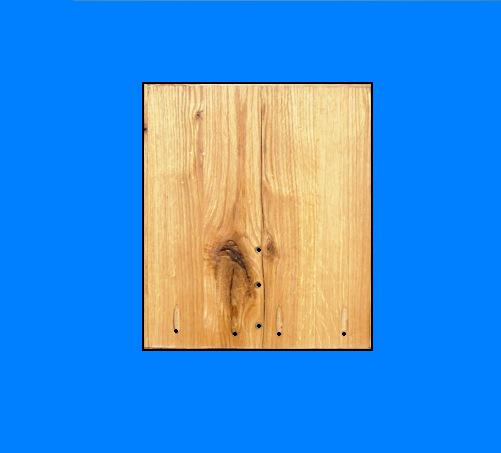
Select the Bottom Panel; on the bottom side, drill
four Kreg holes at the back edge; drill three, 1/8" holes (counter sink the
holes) along the center to attach the Bottom Brace, as shown above.
Select the Side Panel; along the top, inside edge,
drill four, Kreg holes to attach the Top Panel.

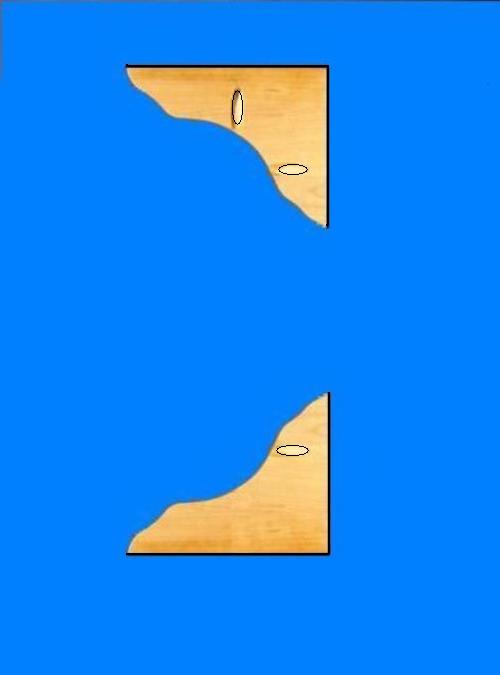
Select the Top and Bottom Support Braces; drill the
Kreg holes as shown above; one hole in the Bottom and four holes (two on
each side) in the Top Brace.
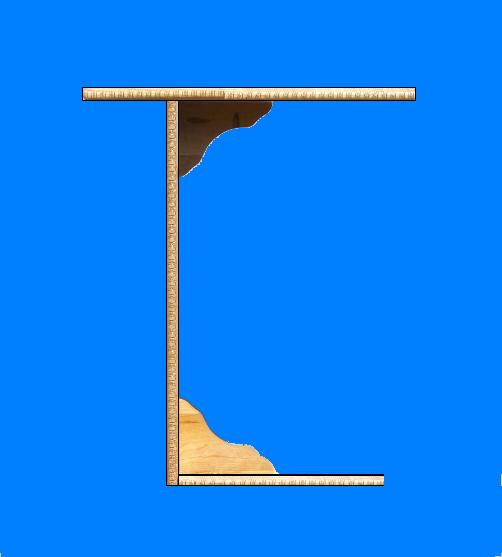
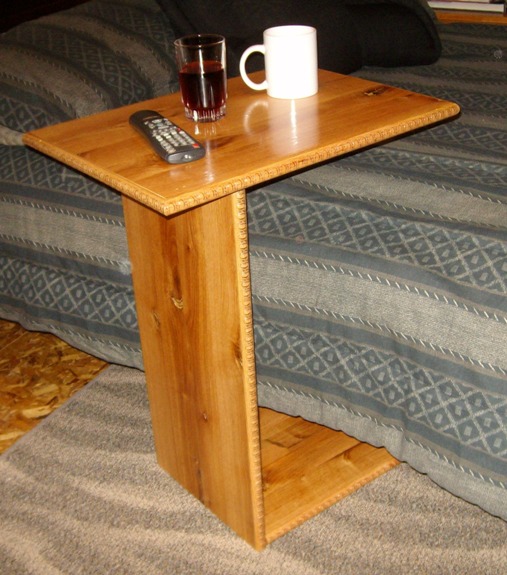
Step 3, Assemble the Table - Select
all five pieces.
Select the Bottom Brace and Bottom Panel; center the
Brace on the pre-drilled holes in the Bottom Panel; using glue and three
screws, attach the Brace from
the bottom side, as shown above.
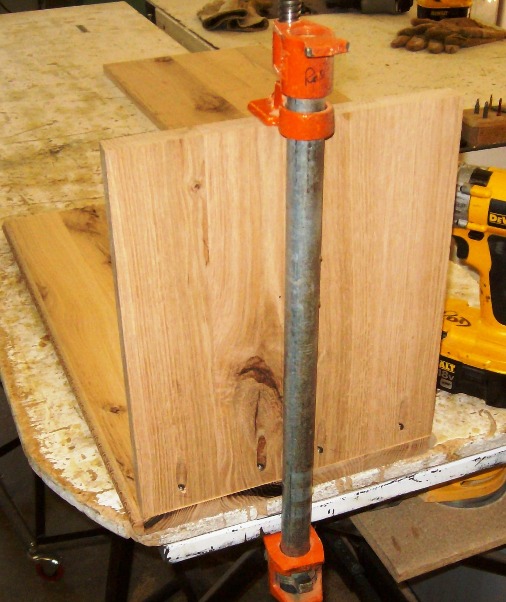
Select the Side Panel and attach it to the Bottom
panel using glue and four Kreg screws, as shown above. Use a Kreg screw to
attach the Bottom Brace to the Side Panel.
Select the Top Panel and using glue and four, Kreg screws, attach
it to the Side Panel, as shown above.
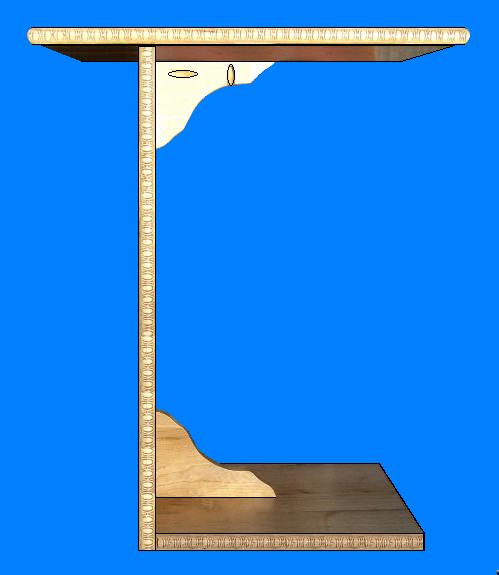
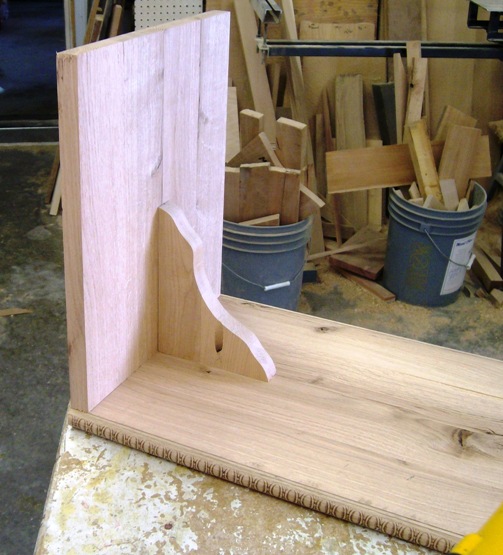
Select the Top Brace and attach it on center to the
Top and Side Panels using four Kreg screws, as shown above.
Select the moulding; cut and attach it with glue and
brads to all the exposed plywood edges (miter the corners).
Step 4, Finish the Table - Fill all holes with filler, sand, and poly.
|