|
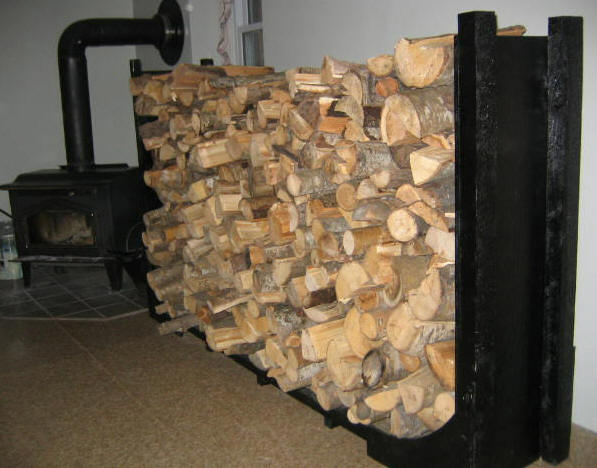
Building a firewood rack is a
project that can be fun and practical; an outdoor firewood
rack is handy for anyone who heats with wood. This
wood rack that can hold a full face cord or it can be customized
to
hold more. You can build this firewood rack
practically free with the materials laying around your workshop.
Material List:
Three, 2 x 2 x 8', Treated: For the
bottom base rails
Two, 2 x 4 x 8', Treated: For the left/right
end panels
One, 2 x 6 x 32", Treated: For base support
One, 4 x 8 x 1/2", Treated Plywood: For
bracing material
1 1/2" and 3" Woodscrews
2 1/2" Nails

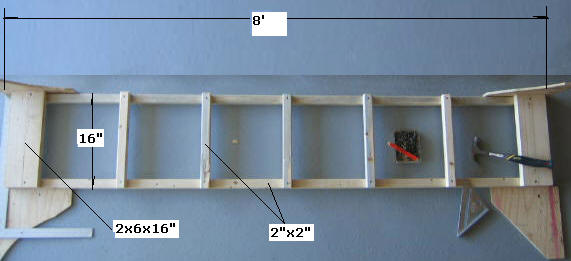
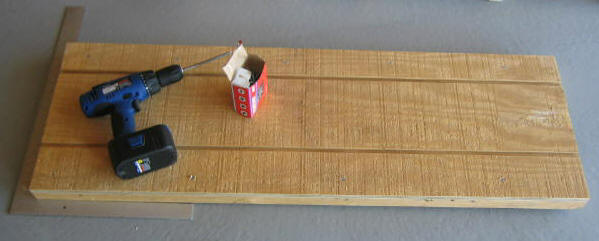
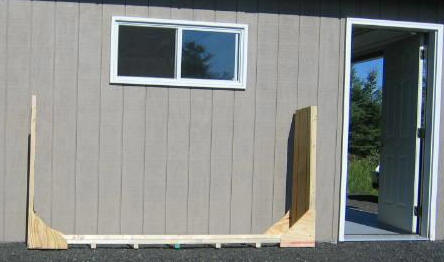
Step 1, Build Base -
Select two, 2x2x8'; lay them on a flat surface about 16"
apart.

Select 2 x 6;
cut two pieces to 16" length for left/right, end, cross
bracing; attach one at each end of the 2x2x8's per the picture
above; use a carpenter square to ensure the ends of the
2x2x8's are even and square.
Select the remaining 2x2x8'; cut it
into five pieces @ 16" for the base cross-bracing; attach
them evenly spaced per the picture above with nails.
When the base structure is complete,
flip it over.
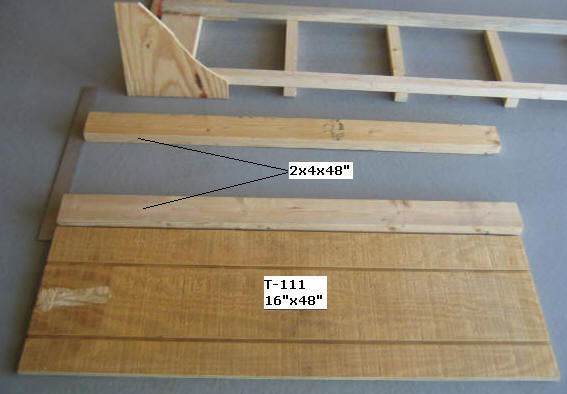
Step 2, Build the left/right End
Panels - Select 2 x 4 and
cut two pieces to 48" length for upright supports; lay them
on a flat surface.
Select exterior plywood; cut two pieces @
16"x48" for the left/right end panels.
Attach the plywood to the 2x4's with 1
1/2" screws.
Repeat Step 2 to produce a second
end panel.
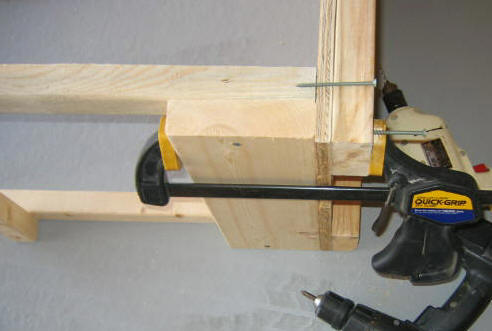
Step 3, Attach the End Panels to
Base - Attach the right end panel to the base with 3"
screws per the picture above.
Repeat this step for the left end
panel.
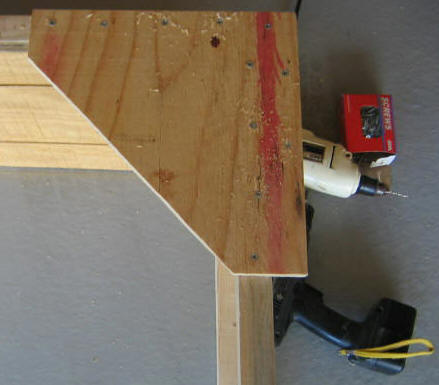
Step 4, Attach the Support Braces
- Select the plywood and cut four 1' squares; cut them at a 45
degree angle per the picture above; attach one to each
corner with 1 1/2" screws per the picture above; use
lots of screws.
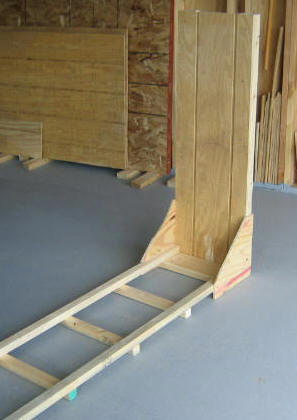
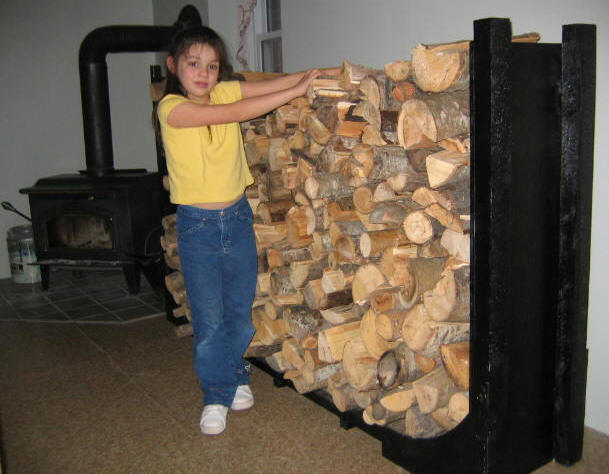
Step 5, Finish the Rack - After
securing all the screws, set the rack upright and paint it
with a good exterior primer/paint and your are ready to drag
it into position to begin filling it.

More FREE Plans!
Picnic Table Plans
Gun Rack Plans
Bookcase Plans
|